Examining Android database tables using an adb shell and sqlite3
In this post we see how easy it is to use an ADB shell and sqlite3 to examine the contents of a SQLite database on an Android device. I will be using the Android Notepad tutorial as an example. To start build and run the Notepad tutorial using the emulator. I am using the Notepad V4 version I created by upgrading the NotepadV3solution, as this removes a couple of annoying bugs. Instructions on how to build this are given in the previous post.
While the application is running on the emulator, create a number of notes with known contents. I created 4 notes with titles of 1, 2, 3 and 4 and bodies of “Body 1”, “Body 2” etc…
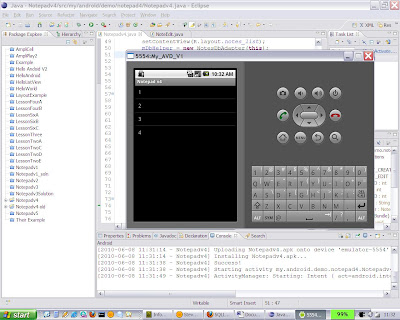
Now on a windows command line open a shell on the emulator using the ADB command
Adb –e shell
You will get a # prompt, showing that you are now running a linux shell on the emulator.
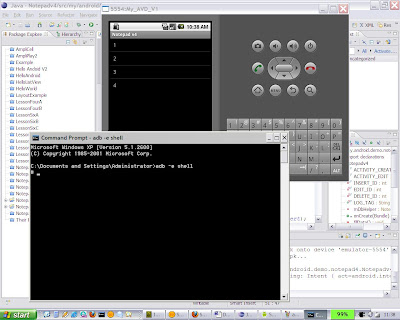
Android stores SQLite databases in /data/data/{application package name}/databases. So we need to navigate to this directory. I do this in a few steps.
(1) cd data/data
(2) ls
(3) cd my.android.demo.notepad4
(4) ls
(5) cd databases
(6) ls
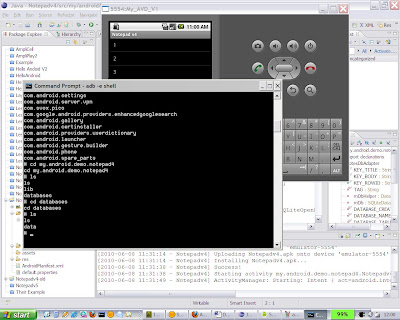
You can see that we have navigated to the correct directory, and that the database rather unimaginatively called “data” is there. Now we start sqlite3 with the command sqlite3 {database name}. You can enter SQL commands into SQLite3, but for debugging purposes the only command we really need is “.dump” Issuing it in this case shows us the current contents of the only table in the database, notes.
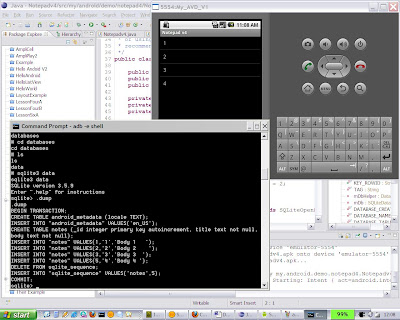
We can see the table contents as expected. In this case row 4 is absent because I created then deleted one entry. Sqlite_sequence is a special table created by the sqlite database because the key of the table notes is created using the AUTOINCREMENT keyword. The .dump output is recording that the highest value of the key is 5 so that SQLite can allocate a higher value (normally six) when the next key is needed. To exit sqlite3 the command is “.exit”
While the application is running on the emulator, create a number of notes with known contents. I created 4 notes with titles of 1, 2, 3 and 4 and bodies of “Body 1”, “Body 2” etc…

Now on a windows command line open a shell on the emulator using the ADB command
Adb –e shell
You will get a # prompt, showing that you are now running a linux shell on the emulator.

Android stores SQLite databases in /data/data/{application package name}/databases. So we need to navigate to this directory. I do this in a few steps.
(1) cd data/data
(2) ls
(3) cd my.android.demo.notepad4
(4) ls
(5) cd databases
(6) ls

You can see that we have navigated to the correct directory, and that the database rather unimaginatively called “data” is there. Now we start sqlite3 with the command sqlite3 {database name}. You can enter SQL commands into SQLite3, but for debugging purposes the only command we really need is “.dump” Issuing it in this case shows us the current contents of the only table in the database, notes.

We can see the table contents as expected. In this case row 4 is absent because I created then deleted one entry. Sqlite_sequence is a special table created by the sqlite database because the key of the table notes is created using the AUTOINCREMENT keyword. The .dump output is recording that the highest value of the key is 5 so that SQLite can allocate a higher value (normally six) when the next key is needed. To exit sqlite3 the command is “.exit”
Comments
Post a Comment